https://qiita.com/whim0321/items/093fd3bb2dd287a72fba
Windows 10でUbuntuをインストール
Windows 10では、Windows Subsystem for Linux (WSL)というやつの上で簡単にLinuxを使える。仮想環境を準備するよりお手軽そうなので、使ってみた。
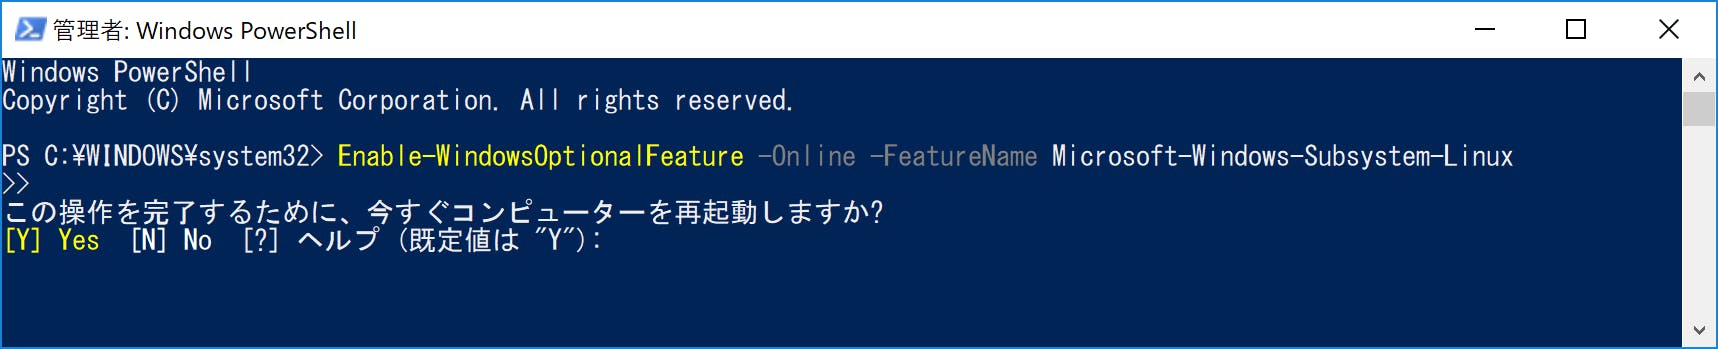
- 管理者モードでPowerShellを起動し、下記のコマンドを実行してWSLを有効化。
PS C:\Windows\System32> Enable-WindowsOptionalFeature -Online -FeatureName Microsoft-Windows-Subsystem-Linux
2.下記の問い合わせに対して、Yを入力してPCを再起動
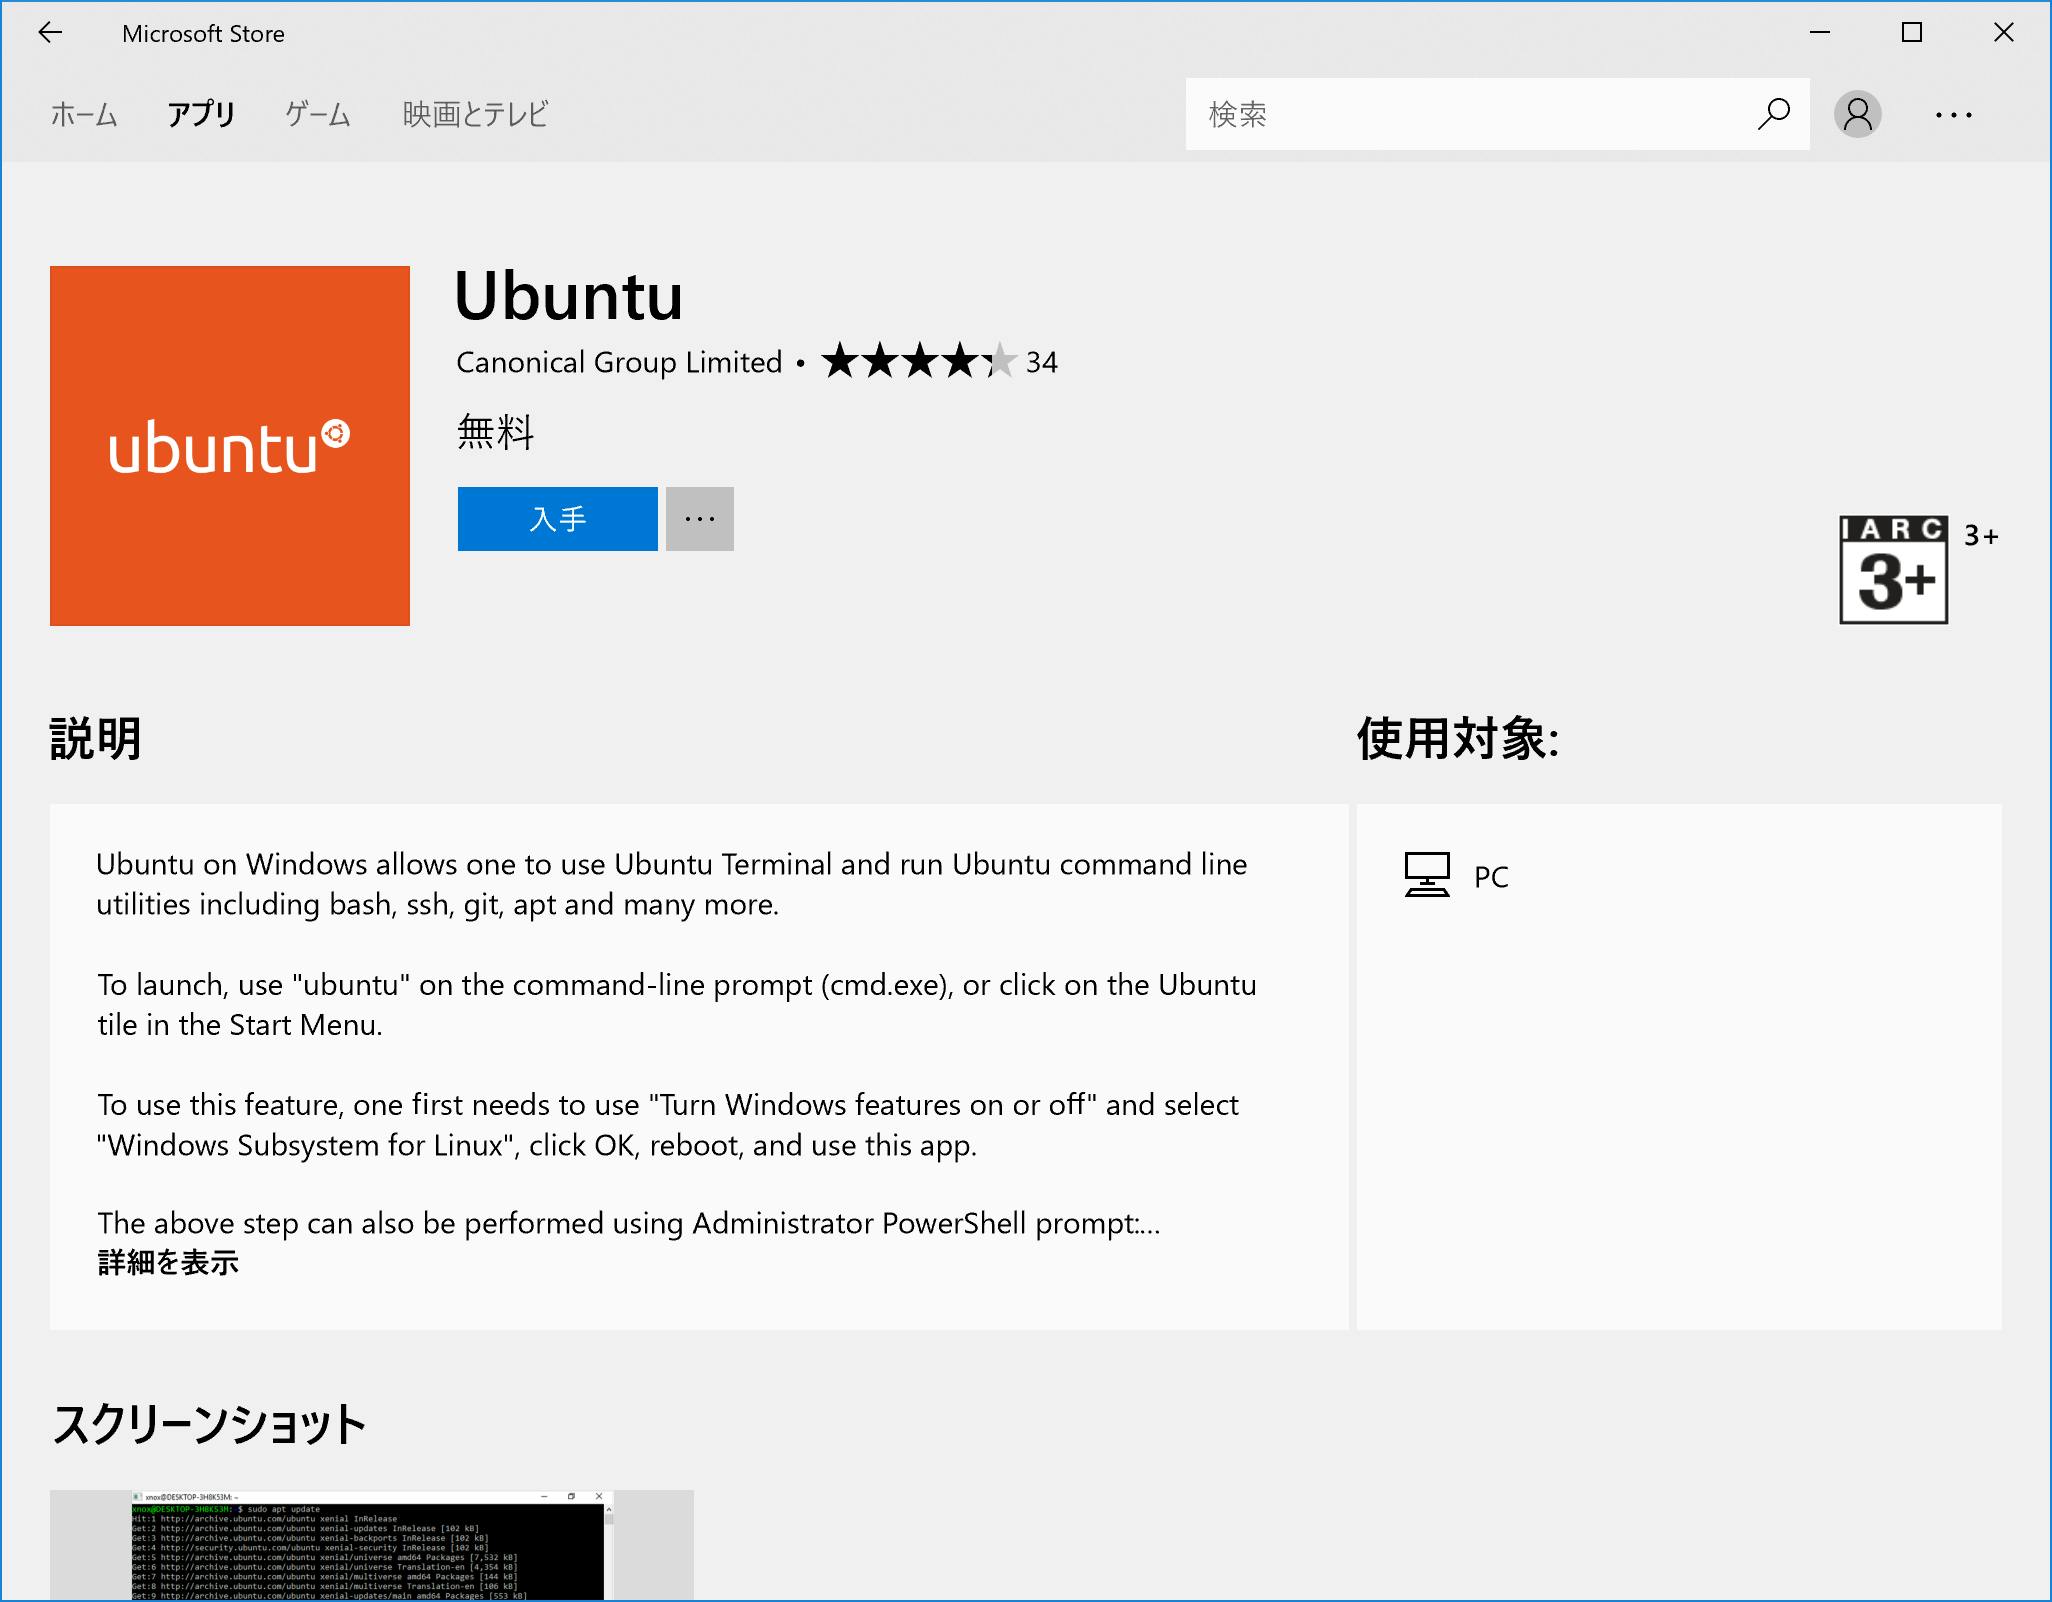
3. 再起動後、Microsoft Storeを起動し、Ubuntuを検索
Microsoft Storeには版数まで入ったUbuntuもある。(Ubuntu 18.04等)
特定の版数のUbuntuを入れたい場合は、そっちを入れたほうがよい。版数無しUbuntuはインストールする時期によって、版数が変わる模様。(2018/10追記)
2018/10/08現在、Debian, SUSE, openSUSE等もダウンロード可能。
4. 「入手」ボタンをクリックして、Ubuntuをインストール
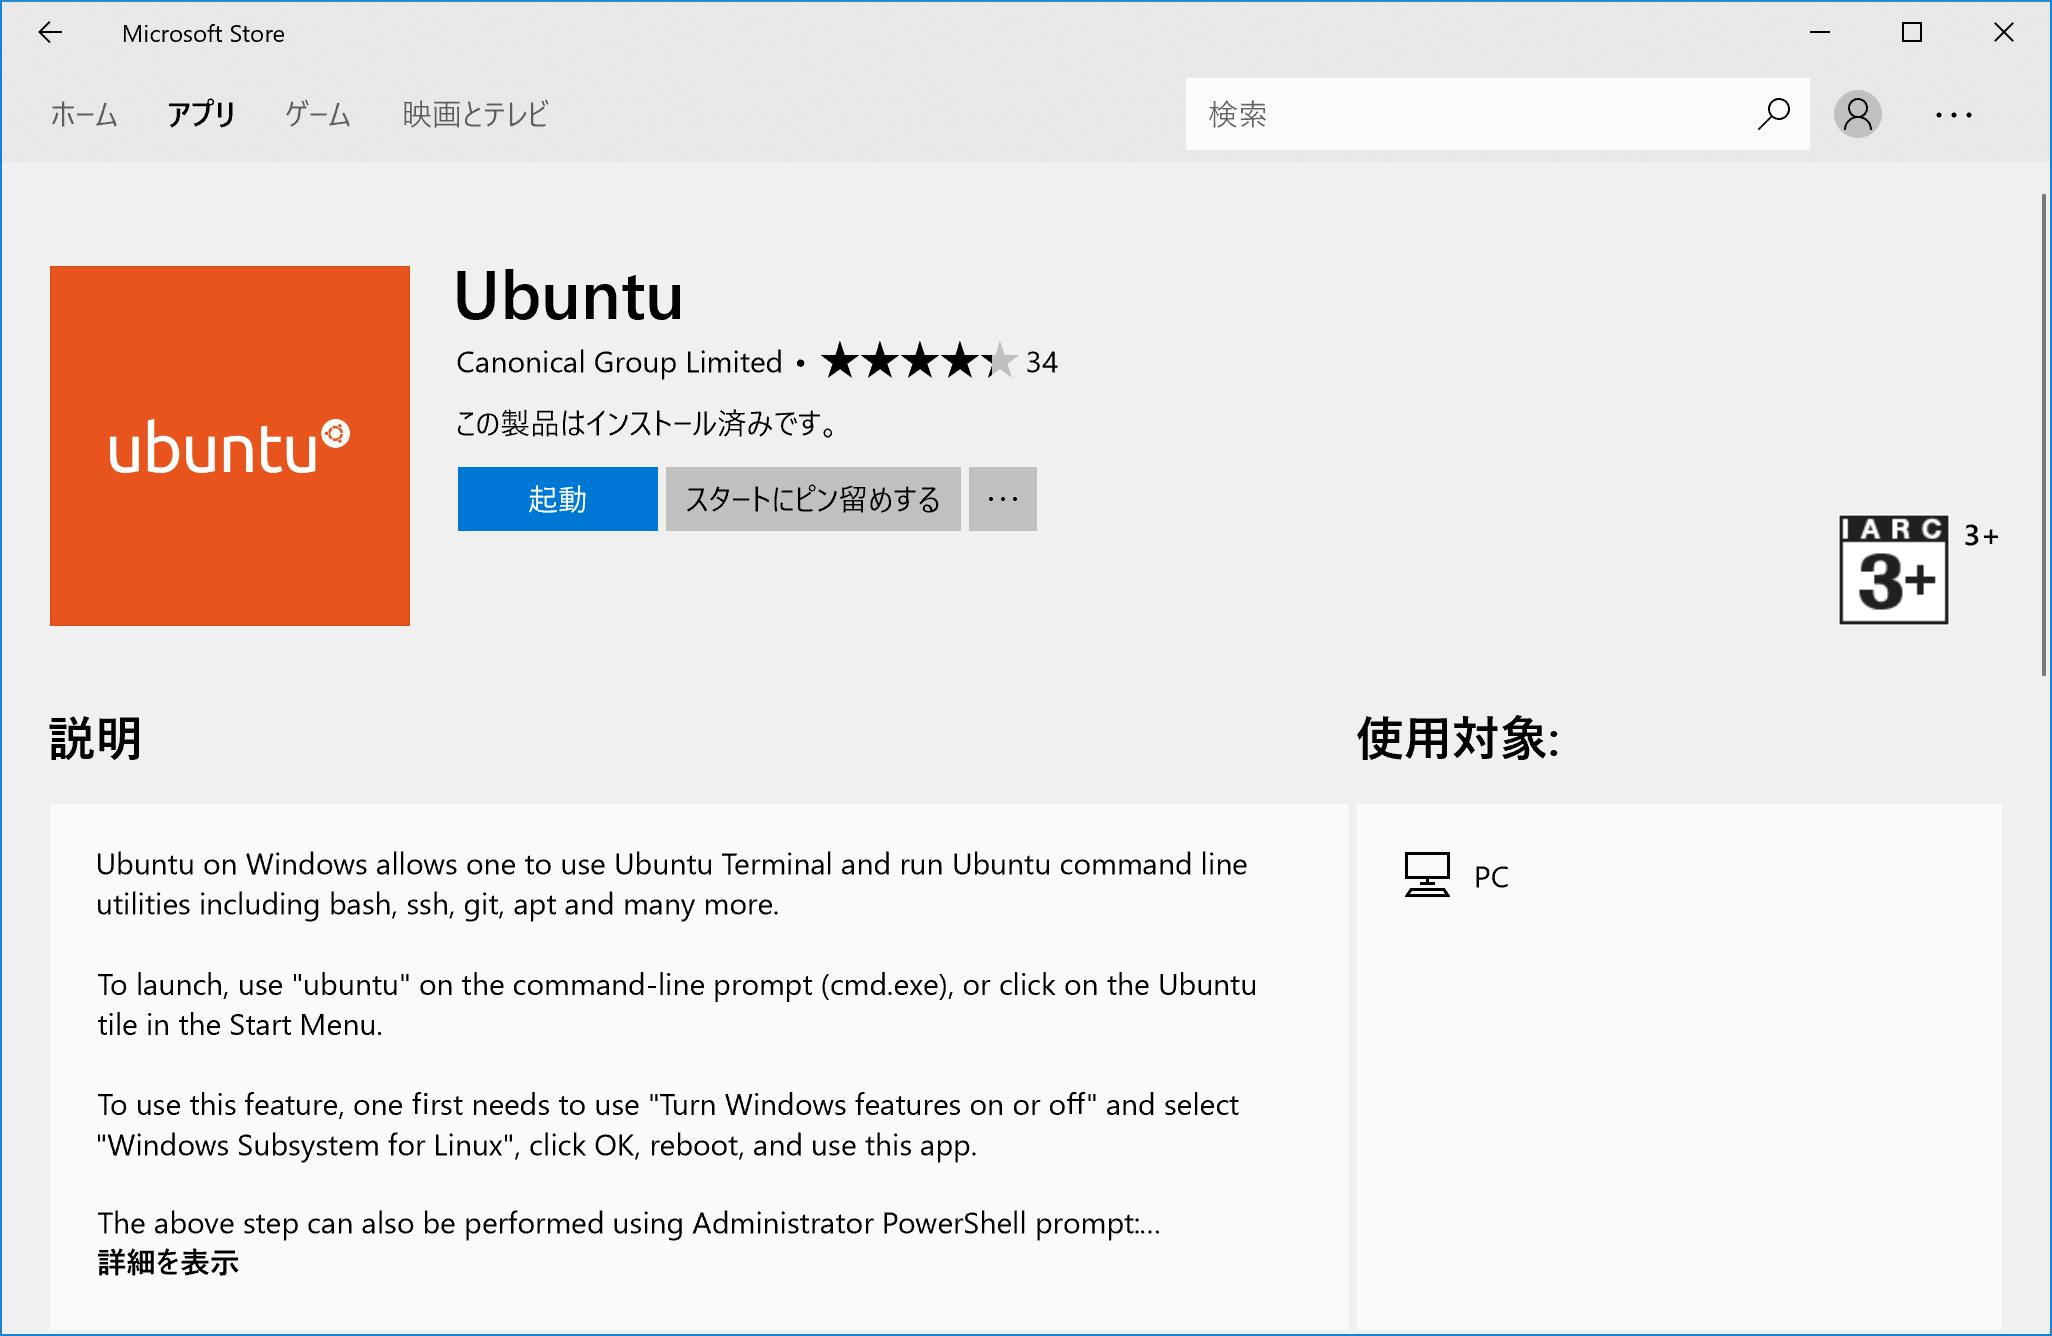
5. インストール完了後、「起動」をクリックしてUbuntu起動!
6. 初回起動時にUbuntu用ユーザIDとパスワードを設定して、インストール完了
root権限が必要な場合は、sudoで実行できる。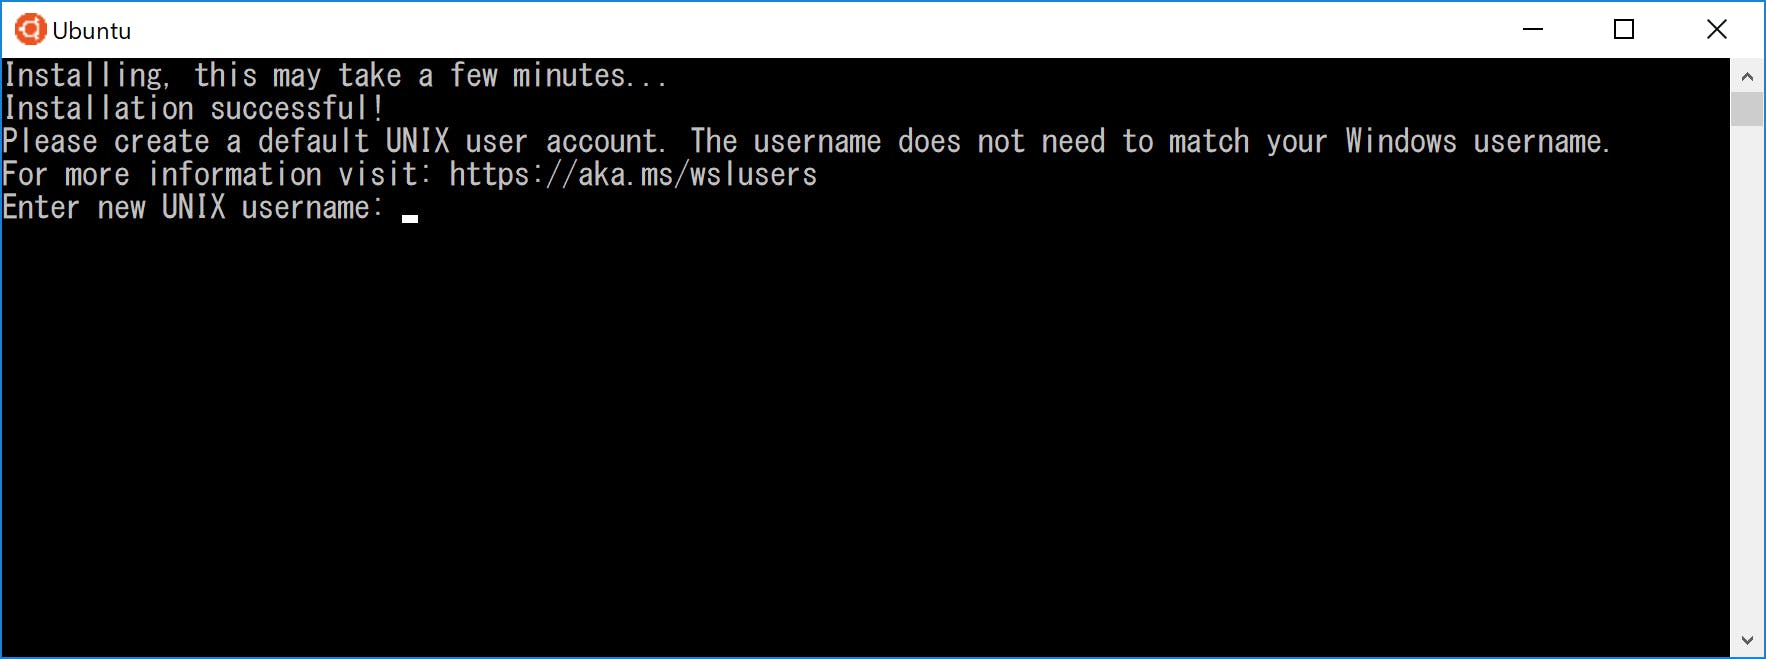
gccインストール
gitは入っているけど、gccは入っていないのでインストール。
$ git --version
git version 2.7.4

$ gcc
The program 'gcc' is currently not installed. You can install it by typing:
sudo apt install gcc

$ sudo apt-get install gcc

$ gcc --version
gcc (Ubuntu 5.4.0-6ubuntu1~16.04.9) 5.4.0 20160609
Copyright (C) 2015 Free Software Foundation, Inc.
This is free software; see the source for copying conditions.  There is NO
warranty; not even for MERCHANTABILITY or FITNESS FOR A PARTICULAR PURPOSE.
sshサーバ起動
Ubuntu 18.04には、openssh-serverがインストール済み。
$ apt list openssh*
Listing... Done
openssh-client/bionic,now 1:7.6p1-4 amd64 [installed]
openssh-client-ssh1/bionic 1:7.5p1-10 amd64
openssh-known-hosts/bionic 0.6.2-1 all
openssh-server/bionic,now 1:7.6p1-4 amd64 [installed]
openssh-sftp-server/bionic,now 1:7.6p1-4 amd64 [installed]
sshdは起動していないため、起動する必要がある。初回のみssh host keyの作成を実施してから、sshdを起動する。なお、systemctl enable sshはできないため、毎回sshdを起動する必要がある。
$ sudo ssh-keygen -A
ssh-keygen: generating new host keys: RSA DSA ECDSA ED25519
$
$ sudo service ssh start
 * Starting OpenBSD Secure Shell server sshd                                              [ OK ]
後はTera Term等の好きなssh clientで接続可能。接続先のIPアドレスはPCのIPアドレス or localhostでOK。
Windowsとのファイル共有
WindowsのCドライブが/mnt/cにマウントされているので、Windowsとファイルを共有することも簡単にできる。
Rootユーザでログイン、Rootユーザパースワード変更
1. WindowsでCMD実行
2. Ubuntu基本ユーザをRootに変更
ubuntu.exe config --default-user root
3. Ubuntu起動じRootで接続完了
4. 下記のコマンドからパスワード変更
passwd root
5. 再びUbuntuユーザを基本ユーザに変更
ubuntu.exe config --default-user ubuntuアンインストール方法
通常のアプリケーションと同様に「プログラムの追加と削除」からアンインストール可能。
その他
コマンドプロンプトからwslconfigコマンドで、インストール済みディストリビューション一覧の参照、アンインストール等ができる。
>wslconfig
Linux 用 Windows サブシステムの管理操作を実行します

使用法:
    /l、/list [/all] - 登録されたディストリビューションを一覧表示します。
        /all - すべてのディストリビューションを一覧表示します (オプション)。
               現在インストールまたはアンインストール中のものも含まれます。
    /s、/setdefault <DistributionName> - 指定のディストリビューションを既定として設定します。
    /u、/unregister <DistributionName> - ディストリビューションの登録を解除します。
>wslconfig /l
Windows Subsystem for Linux ディストリビューション:
Ubuntu-18.04 (既定)'Cloud > AWS' 카테고리의 다른 글
| S3버켓을 람다 함수에서 읽기(파이썬) (0) | 2019.11.19 |
|---|---|
| Amazon ElastiCache for Redis 통신 암호와시 클라이언트로 인증하는 방법 (0) | 2019.11.05 |
| Transit Gateway로 VPC간 통신하기 (0) | 2019.10.16 |
| Lambda layers에 디렉토리 구조로 라이브러리 실기 (0) | 2019.10.10 |
| AWS 리소스의 태그 네이밍 컨벤션 (0) | 2019.10.07 |